
I used to think making a sourdough starter was complicated.
Too much science.
Too many rules.
Too many people saying “you did it wrong.”
Most guides make it feel like you need
a scale
a thermometer
and a personality test for your flour.
You don’t.
This sourdough starter recipe is simple, forgiving, and beginner-friendly.
No yeast.
No fancy flour.
No stress.
Just flour, water, time, and a little patience.
What a Sourdough Starter Actually Is
A sourdough starter is just flour and water that has been fed long enough to grow natural wild yeast.
That’s it.
The yeast lives in the flour and in the air around you.
When you feed it regularly, it becomes active and bubbly.
That’s what makes bread rise
and gives sourdough its flavor.
You’re not creating something artificial.
You’re just letting nature do its thing.
Why This Method Works
Most starter recipes fail because people
overthink them
overfeed them
or quit too early.
This method keeps it simple.
Equal parts flour and water.
Consistent feeding.
Room temperature patience.
That’s all a starter needs.
Ingredients You’ll Need
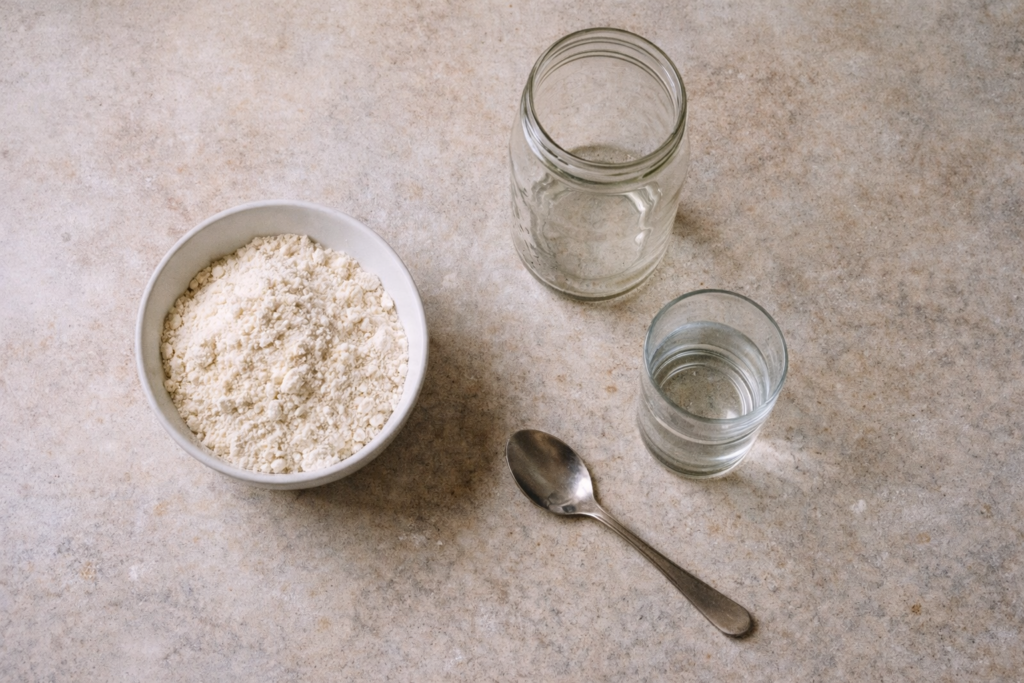
You only need two things.
- All-purpose flour – unbleached is best
- Water – room temperature
Optional but helpful
- a clear glass jar
- a spoon
- a rubber band or marker
No rye required.
No whole wheat required.
You can use them later if you want.
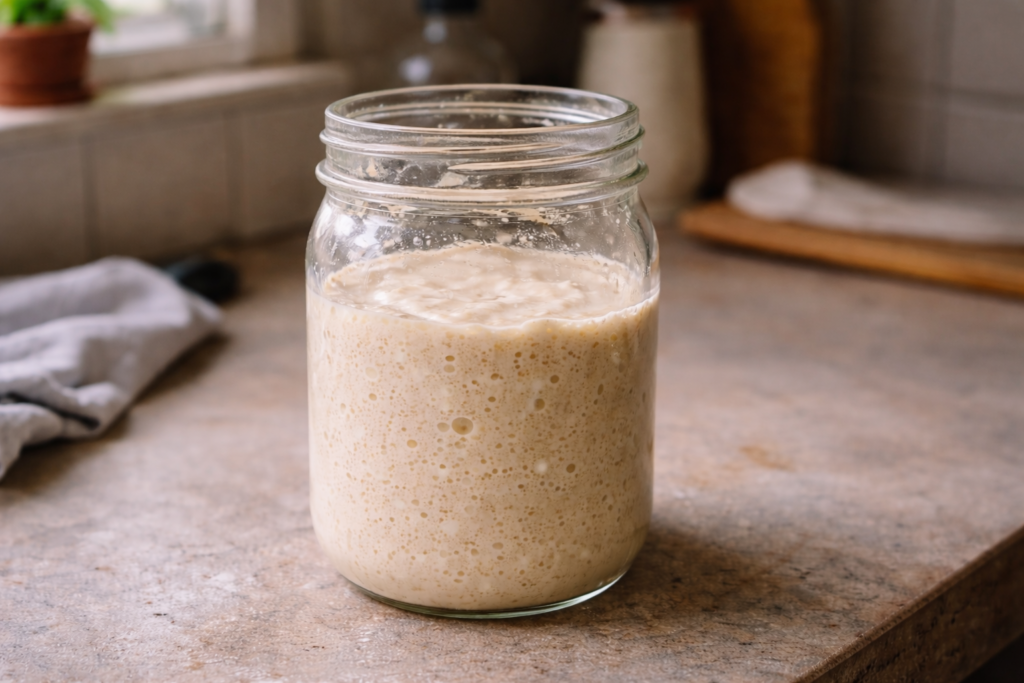
Day 1: Start the Starter
In a clean jar, mix
- ½ cup flour
- ½ cup water
Stir until no dry spots remain.
The texture should look like thick pancake batter.
Scrape down the sides.
Cover loosely with a lid or cloth.
Do not seal it tight.
Leave it at room temperature for 24 hours.
[IMAGE: freshly mixed starter in a jar, smooth texture, no bubbles yet]
Nothing exciting will happen today.
That’s normal.
Day 2: First Feeding
You might see
a few bubbles
or nothing at all.
Both are fine.
Discard about half of the starter.
Add
½ cup flour
½ cup water
Stir well.
Cover loosely and leave for another 24 hours.
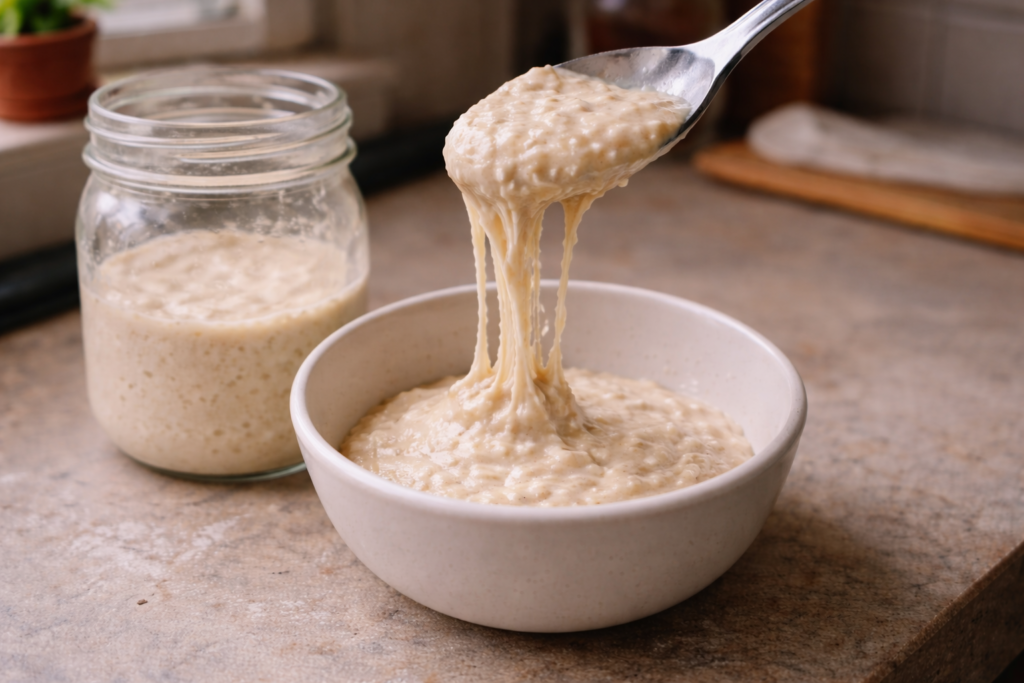
Days 3–5: Daily Feeding
Now things start to change.
You may notice
small bubbles
a slightly sour smell
or a little rise and fall.
Each day, do the same thing.
Discard half.
Feed with equal flour and water.
Stir.
Cover loosely.
If it smells weird but not rotten, keep going.
Sourdough smells alive.
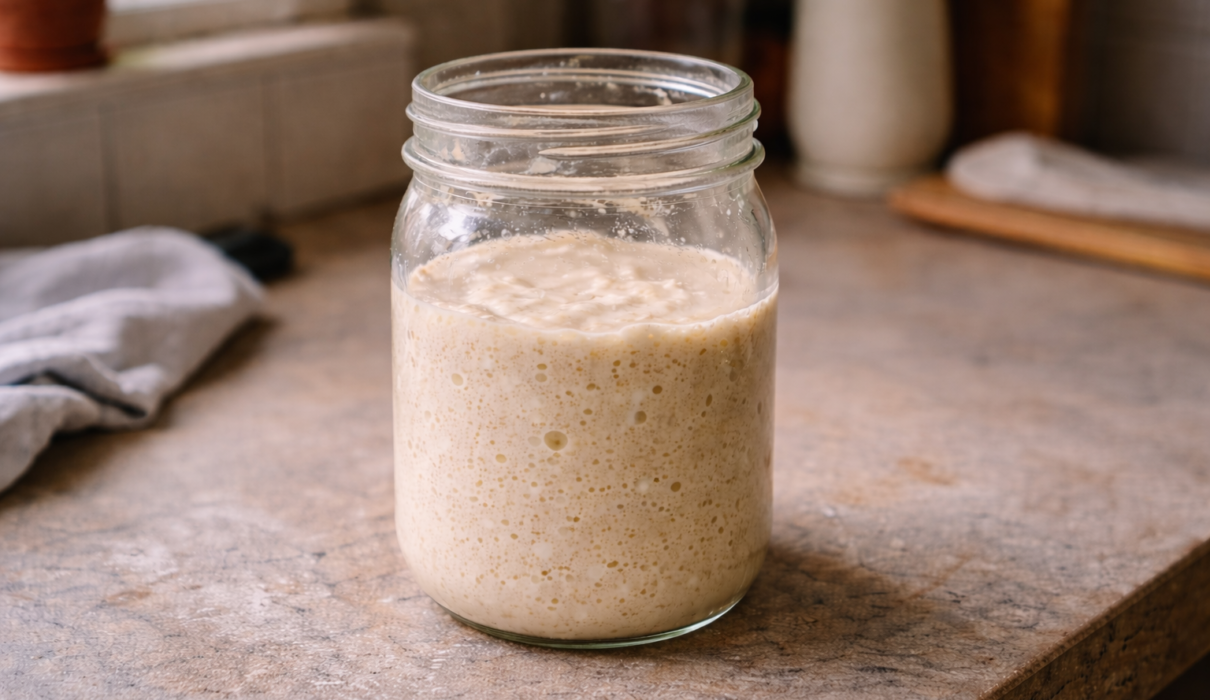
When Is It Ready?
Your starter is ready when it
Doubles in size within 4–6 hours
Looks bubbly and airy
Smells mildly sour, not sharp or rotten
This usually happens around day 5 to day 7.
Sometimes earlier.
Sometimes later.
Time matters more than the calendar.
How I Actually Use My Starter
- Sourdough bread
- Pancakes and waffles
- Crackers
- Pizza dough
- Flatbreads
Once it’s active, it’s very flexible.
Common Mistakes To Avoid
- Using cold water
- Sealing the jar airtight
- Skipping discards
- Giving up too early
The starter doesn’t fail.
People just stop feeding it.
Storage and Maintenance
If baking often
feed it daily and keep it on the counter.
If baking occasionally
store it in the fridge and feed once a week.
Before baking
bring it to room temperature
and feed it once or twice.
It wakes right back up.
Final Thought
Sourdough starter isn’t difficult.
It’s slow.
And that’s the point.
You don’t rush it.
You don’t force it.
You just keep showing up.
Make it once
and you’ll always have it.
If you want
a no-discard method
a whole wheat version
or easy sourdough recipes to use it
Tell me.